Back Office
Some of our features are available via both the Merchant Portal and the Back Office. If you are using the Back Office, learn here how to manage these.
Back Office vs Merchant Portal
Both the Merchant Portal and the Back Office have separate login pages and a distinctive user interface layout.
To make sure which one you are currently using, refer to these screenshots / login Urls.
Back Office
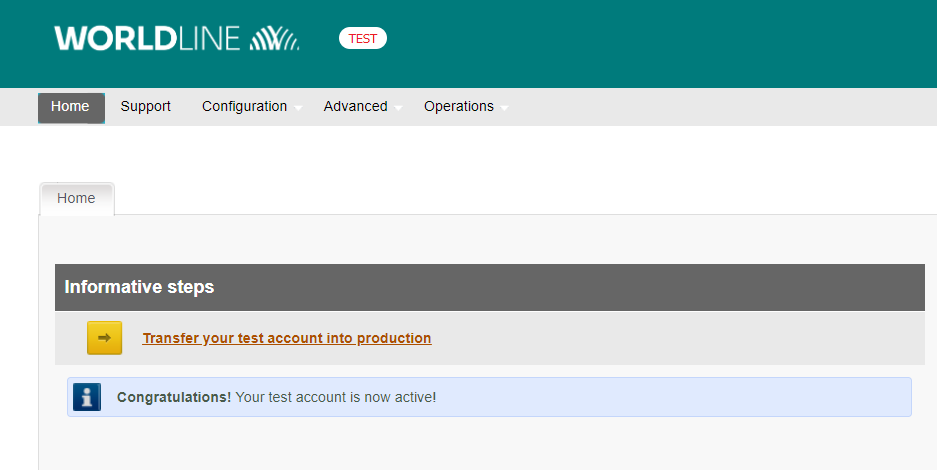 Back Office test login
Back Office live login
Back Office test login
Back Office live login
Merchant Portal
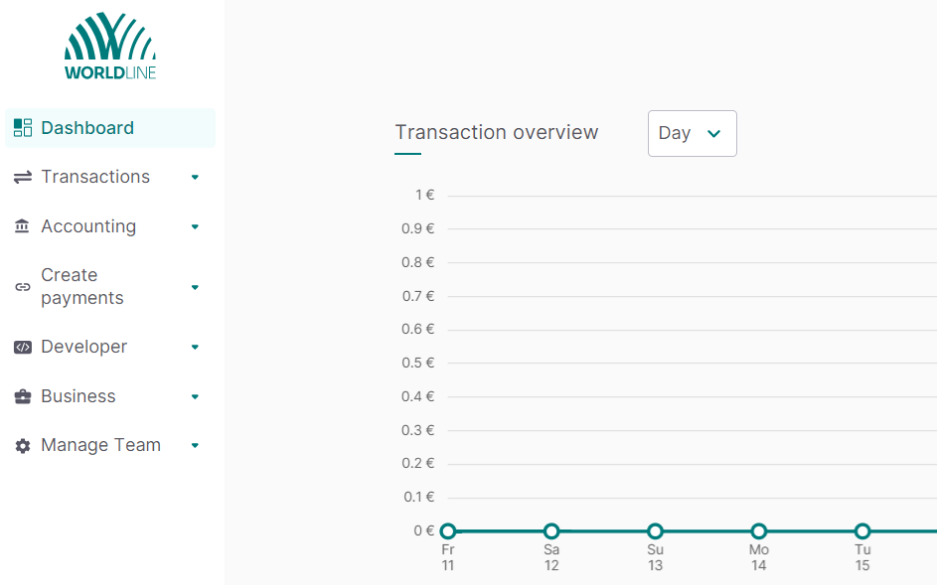 Merchant Portal test login
Merchant Portal live login
Merchant Portal test login
Merchant Portal live login
API key/secret configuration
Our GoPay API's authentication mechanism is based on a API key/secret pair linked to your PSPID. Follow these steps:
- Login to the Back Office. Go to Configuration > Technical information > API settings > Direct API Key
- If you have not configured anything yet, the screen shows “No api credential found”. To create both API Key and API Secret click on “GENERATE”

- The screen now shows both codes in the table, in columns "Key" and "Secret" respectively
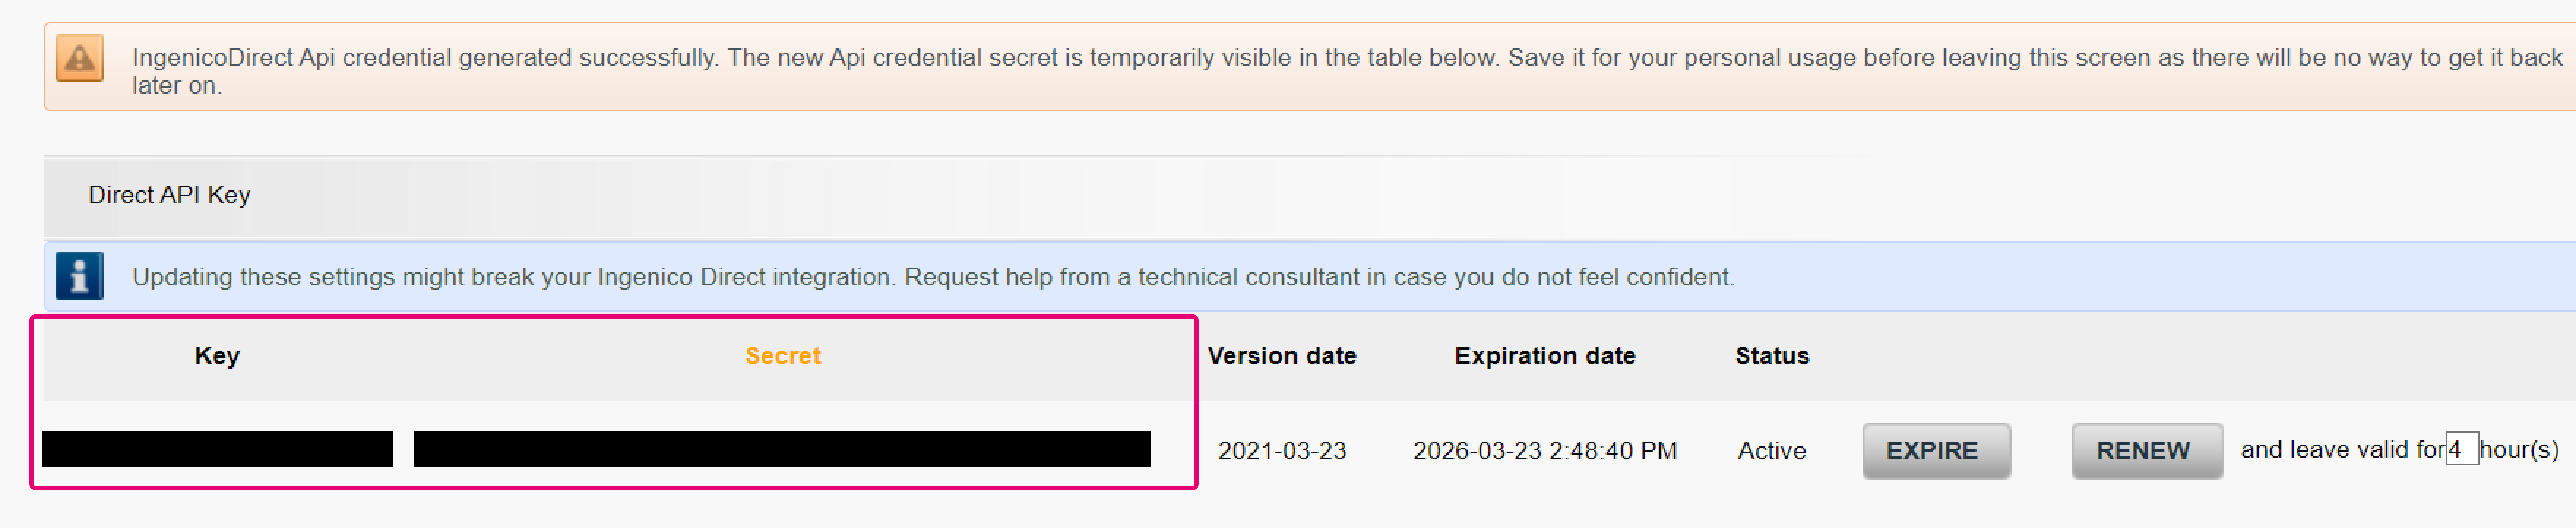
| Key | The current key configured in this PSPID |
| Version date | The date when the Key/Secret pair was created |
| Expiration date | The date when the Key/Secret pair will expire. Default time of permanency is two years |
| Status | The current status of the API key/secret pair
|
If you wish to use a new API Key and API Secret, follow these steps
- Select a period from the drop down menu “leave valid for X hour(s)”. Click on the “RENEW” button. The currently used API Key/Secret pair will expire after the date as defined in “Expiration date”
- At the same time, a new API Key/Secret appears in the first line of the table. Make sure to save the API Secret in your system, as it will not be visible in the Back Office anymore once you access this menu anew
- To force an immediate expiration of the expiring API Key/Secret, click on “EXPIRE”. Our platform removes the respective API Key/Secret from the table and our platform, making it unusable for requests
Do not click on "EXPIRE" if you have only one API Key/Secret pair at the time, as this will make it unusable instantly. Make sure to create a new API Key/Secret pair first before you force the expiration of the currently used pair.
Webhooks
GoPay uses Webhooks to keep you updated about transaction results and status changes so that you can update your database, for instance. Follow these steps to configure webhooks:
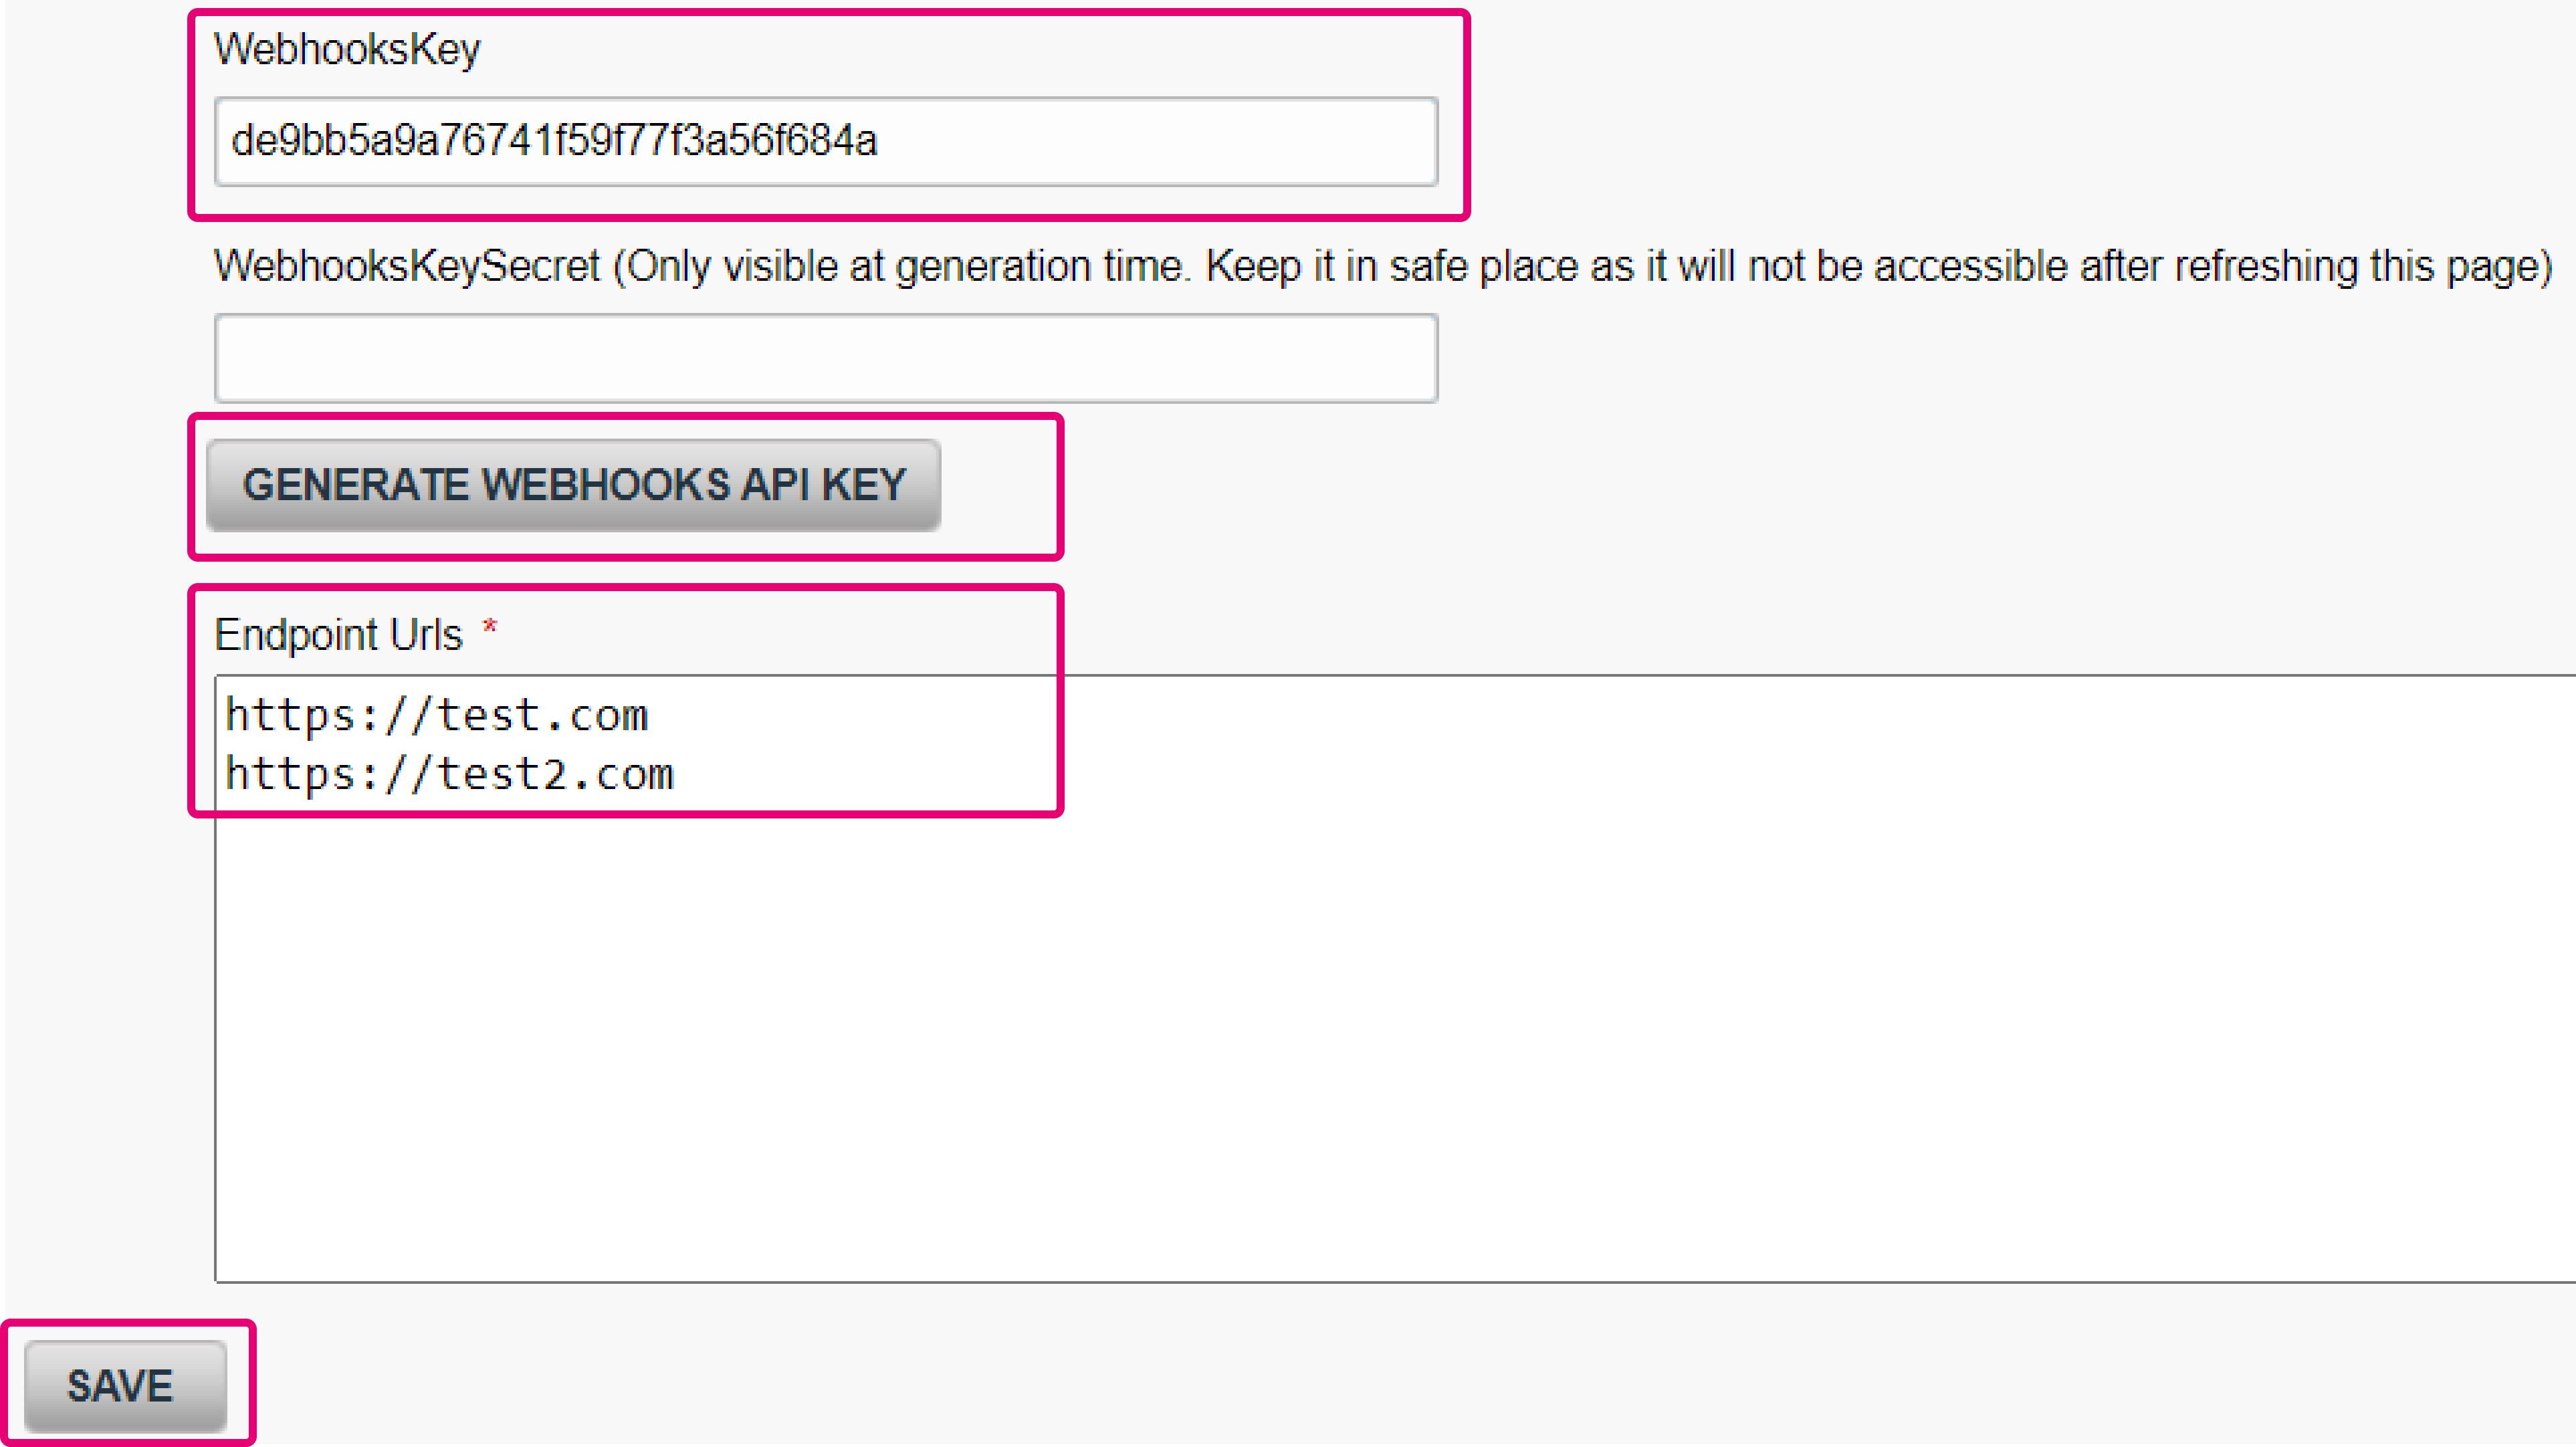
- Login to the Back Office. Go to Configuration > Technical information > API settings > Webhooks Configuration
- Click on "GENERATE WEBHOOKS API KEY" or enter the desired webhooks API key manually. The "WebhooksKey" is used to validate the messages as legitimate data transfer between our platform and your server. If you use one of our SDKs, this process happens automatically. If you choose to build your own application, make sure to include it
- In "Endpoint URLs", enter your webhook destination(s) on your server. Enter any additional URL in a separate line
- Click on "SAVE" to confirm your settings
- To process the incoming webhooks in your system, you need to build an application on an HTTPS endpoint on your server. It should be able to
- Translate JSON into objects and signature verification. Our Server SDKs help you achieve this
- Respond to a GET action and echo the 'X-GCS-Webhooks-Endpoint-Verification' header value in the body
- Respond to the POST action with a 2XX status code for all events delivered
- Validate the signature on the message
Reset own password
To reset your password, follow these steps:
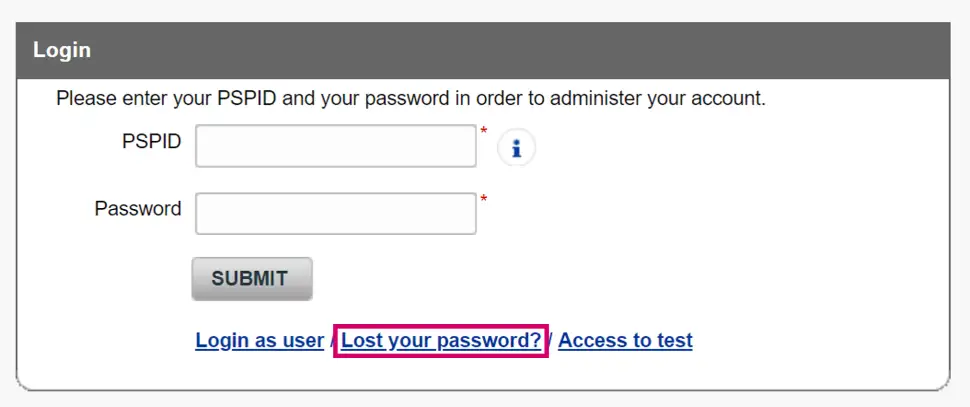
- Go to either test/production login screen and click on Lost your password?
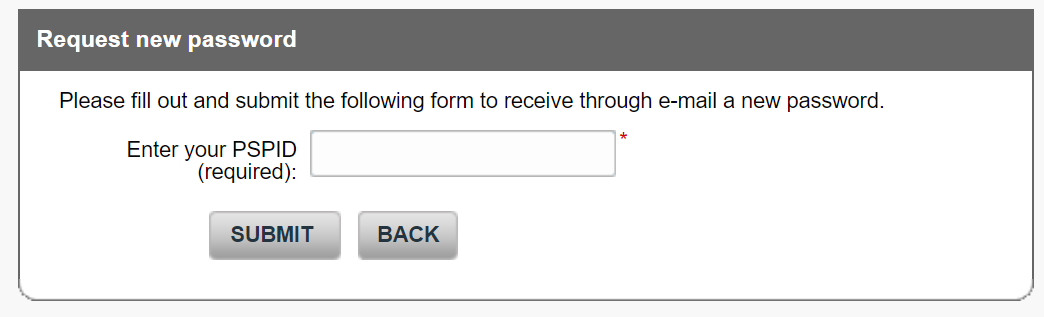
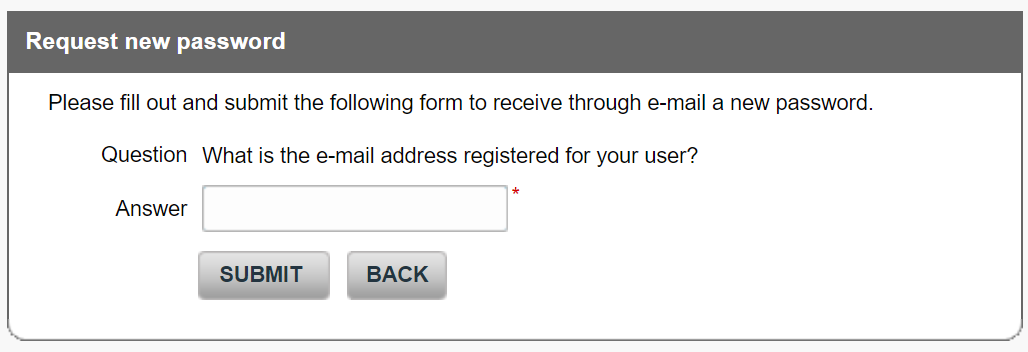
- Follow the instructions on the screen by entering your PSPID and the e-mail address for your user in the respective PSPID
- Keep an eye on your e-mail inbox. Our system will send you a password within a couple of minutes. Use this password to login to your account
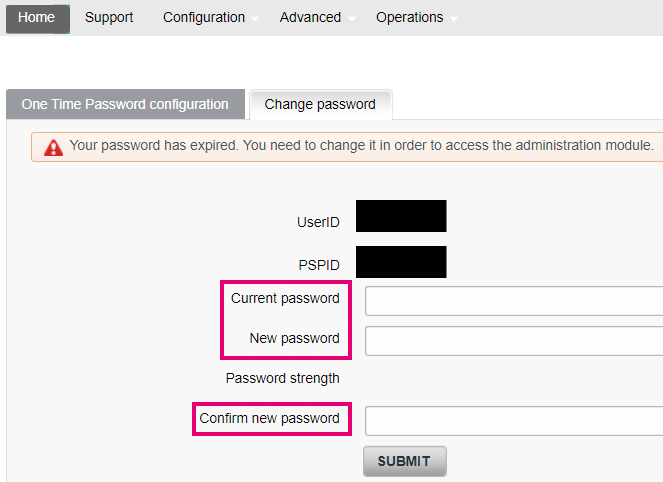
- The password you have received in the e-mail is a one-time password. You have to change right after the login. Enter the three fields as follows:
a) Current password: enter the password you have sent received by email and used for logging in
b) New password: enter a new password by your choice. Please mind that certain requirements must be met as described in the lower part of the screen
c) Confirm new password: enter the new password from the New password field once more
If you have still trouble with changing your password, contact us.
As our platform treats users/PSPIDs on our two environments (test and live) as strictly separated entities, you have always separate passwords for either environment. Therefore, make sure not to mix up passwords for the test/live environment
Reset password for other users/PSPIDs
If you have multiple users in your PSPID, you can reset the passwords for them. To do so, follow these steps:
- Login to the Back Office. Go to Configuration > Users.
- In the table overview, click on "Send new password" in the line for the respective user. If a user is blocked due to too many password errors, you need to click on a separate "Activate" button first. Only then will the "Send new password" be available
- You get a success message on the screen. Our system sends an automated e-mail with a new password to the user. As the password is a one-time password, the recipient will have to change it as described above right after the first login.
Payment method activation status
You can check the payment method’s activation status via Configuration > PM activation. You can change its activation status by clicking on the "Edit" symbol via PM activation.
Apple Pay
Offering this payment method requires you to either register your Merchant ID (for Hosted Checkout Page integration mode) or create your Apple Pay certificates (for Mobile/Client Integration).
Register Merchant ID (Hosted Checkout Page)
Follow these steps:
- Log in to the Back Office. Go to Configuration > Payment methods > Apple Pay > Hosted Checkout registration > Hosted Checkout configuration > Add new certificate.
- Read the Apple Pay terms and conditions by clicking on the respective link. Click on "REGISTER" to approve them.
- Click on "CHECK ACCOUNT STATUS" and wait for the message "Your PSPID is correctly registered" to appear. This will take only a couple of seconds: You are ready to offer Apple Pay to your customers via Hosted Checkout Page integration mode.
Mind the following:
- You can repeat step 3 anytime to check your status.
- You can revoke your approval any time by clicking on "UNSUBSCRIBE".
- If you reject the Apple Pay terms & conditions, the payment method will not be available on our Hosted Checkout Page.
- Apple's terms and conditions can change. Keep yourself up to date by accessing them regularly.
Create Apple Pay certificates (Mobile/Client integration)
For payments via Mobile/Client Integration, you need to create Apple Pay certificates. Depending on whether you leave handling payment data decryption to us or do this by yourself, differences apply:
We handle decryption
This requires you to create certificates and upload them in the Back Office. To do so, follow these steps:
- Log in to the Back Office. Go to Configuration > Payment Methods > Apple Pay > Add new certificate.
- Follow the instructions on the page to
a) Download the certificate signing request (CSR) on that page.
b) Create the Apple Pay certificate on the Apple developer portal using that CSR.
c) Upload the generated certificate via the Browse.../UPLOAD CERTIFICATE buttons.
Find detailed information about how to apply this decryption mode in the “Integration” and “Process flows" chapters.
Mind the following:
- Make sure to create separate certificates for our test / production environment.
- Apple allows you to create a maximum of three certificates per Merchant ID. Mind that only one certificate per Merchant ID can be active. Use the three slots to manage expiring certificates.
- Due to this limitation, we recommend using different Merchant ID for our test / production environment.
- Apple certificates expire after two years. Make sure to timely create and upload a new one. We will notify you via e-mail as soon as a certificate is about to expire.
You handle decryption
This requires you to create certificates and upload them on your server. To do so, follow these steps:
- Contact us to set up your Worldline account to allow handling decryption by yourself.
- Set up your Apple Developer account to allow handling Apple Pay token by yourself.
- Create the Apple Pay certificates on the Apple developer portal
a) Create a Certificate signing request
b) Create a Merchant Identity Certificate
c) Create a payment processing Certificate - Write the code for your app for data decryption.
Find detailed information about how to apply this decryption mode in the “Integration” and “Process flows" chapters.
This decryption mode requires more effort on your side, most notably
- Decrypting the Apple Pay payment token.
- Generating of public keys.
- Creating certificate signing requests (CSRs).
We recommend implementing it only if you
- Prefer handling data encryption yourself.
- Want to access the payment token before processing the actual payment.
Bancontact
Follow these steps to configure Bancontact for the Hosted Checkout Page.
- Go to Configuration > Payment methods > Bancontact > PM options > BCMC Mobile Application solution activation.
- Select the available payment modes your customers can choose from on the Hosted Checkout Page:
Mode Description Display QR code? Allow your customers to pay by scanning a QR code. Display URL intent? Allow your customers to pay with the Payconiq by Bancontact app. - Click on "Save" to confirm your choices
- Depending on your choice, the following modes are now available for the respective devices:
Mobile Tablet Desktop QR code No Yes Yes URL intent Yes Yes No PAN Bancontact card Yes Yes Yes
Bizum
Configure the activation credentials, activate this payment method and make the test configuration.
Configuration and activation
- Get your Bizum credientials (Bizum ID, Terminal ID, Secret Key).
- Login to the Back Office (test / live). Go to Configuration > Payment methods > Choose new payment methods.
- Look up Bizum via the search mask and click on "ADD".
- In "direct.backOfficePath.paymentMethods.contractDataEnter", enter the activation credentials. Click on "SUBMIT".
- In "PM activation", select "Yes" and click on "SUBMIT".
Test configuration
You can activate Bizum in the following ways:
- In test with GoPay simulator
- In test with end-to-end testing
- In live for real transaction processing
- Contact us should you need help for any of the necessary activation steps.
- Make sure to send your transaction requests to our live environment as soon as you have finalised your tests.
Activate in test account with GoPay simulator
This allows you to send transaction requests to our test environment and perform test as described in our Testing chapter. These transactions do not have a financial impact.
Follow these steps:
- Login to your test account. Go to Configuration > Payment methods > Choose new payment methods.
- In "Additional filter criteria", go to "Web Banking". In the table, click on "Add" next to "Bizum".
- In the "Contract data" tab, fill in the following properties:
Property Description/Actions UID Enter any 8-digit numerical value. TID Enter any 3-digit numerical value. Secret Key Enter one of these SHA-256 SecretKey strings:
VmFsaWRCaXp1bUtleUluMjRQb3MwMDAx
Qml6dW1LZXlJbjI0UG9zMDAwMlZhbGlk
S2V5SW4yNFBvczAwMDNWYWxpZEJpenVt
SW4yNFBvczAwMDRWYWxpZEJpenVtS2V5
MjRQb3MwMDA1VmFsaWRCaXp1bUtleUlu
UG9zMDAwNlZhbGlkQml6dW1LZXlJbjI0
MDAwN1ZhbGlkQml6dW1LZXlJbjI0UG9z - Click on "SUBMIT" to confirm.
- Go to the "PM activation" tab. In "Activation", select the "Yes" radio button. Click on "SUBMIT" to confirm.
Activate in test account with end-to-end testing
This allows you to send transaction requests to our test environment. Our platform sends your requests to the Bizum test environment to process your transactions. These transactions do not have a financial impact.
This mode requires you to contact Bizum and get from them your dedicated test acquiring data.
Follow these steps:
- Login to your test account. Go to Configuration > Payment methods > Choose new payment methods.
- In "Additional filter criteria", go to "Web Banking". In the table, click on "Add" next to "Bizum".
- In the "Contract data" tab, fill in the following properties:
Property Description/Actions UID Enter the 8-digit Unique Identifier you have received from Bizum. TID Enter the 3-digit Terminal ID you have received from Bizum. Secret Key Enter the SHA-256 SecretKey you have received from Bizum. - Click on "SUBMIT" to confirm.
- Go to the "PM activation" tab. In "Activation", select the "Yes" radio button. Click on "SUBMIT" to confirm.
Activate in live for real transaction processing
This allows you to send transaction requests to our live environment. Our platform sends your requests to the Bizum live environment to process your transactions. These transactions have a financial impact.
This mode requires you to have a signed acquiring contract with Bizum, as you have to enter live acquiring data.
Follow these steps:
- Login to your live account. Go to Configuration > Payment methods > Choose new payment methods.
- In "Additional filter criteria", go to "Web Banking". In the table, click on "Add" next to "Bizum".
- In the "Contract data" tab, fill in the following properties:
Property Description/Actions UID Enter the 8-digit Unique Identifier you have received from Bizum. TID Enter the 3-digit Terminal ID you have received from Bizum. Secret Key Enter the SHA-256 SecretKey you have received from Bizum. - Click on "SUBMIT" to confirm.
Przelewy24
Configure the currency, the activation credentials, and activate this payment method.
Przelewy24 currency configuration
- Login to the Back Office (test / live). Go to Configuration > Account > Currency.
- Select "PLN : Polish Zloty" from the drop down menu and click on "ADD".
- The currency has been added to the table listing all available currencies to you.
Activation
- Get your activation credentials (Merchant ID/CRC/Secret) from your Przelewy24 user profile.
- Login to the Back Office (test / live). Go to Configuration > Payment methods > Choose new payment methods.
- Look up Przelewy24 via the search mask and click on "ADD".
- In "Contract data", enter the activation credentials. Click on "SUBMIT".
- In "PM activation", select "Yes" and click on "SUBMIT".
SEPA Direct Debit
Follow these steps to refund SEPA Direct Debit transactions:
- Log in to the Back Office. Go to Operations > View Transactions.
- Enter the payment.id of the original transaction in the "Pay ID" field and click on "SHOW LIST".
- On the next screen, select the respective "Pay ID" from the table.
- On the following screen, scroll down and click the "REFUND" button at the bottom. Confirm the action by clicking "OK" in the pop-up window.
The transaction will change to status "81 – Refund pending". Our platform will update the transaction to "8 – Refund" upon confirmation from our acquiring system.
Learn more about these statuses in our dedicated guide.
The SEPA Direct Debit payment method supports only full refunds.